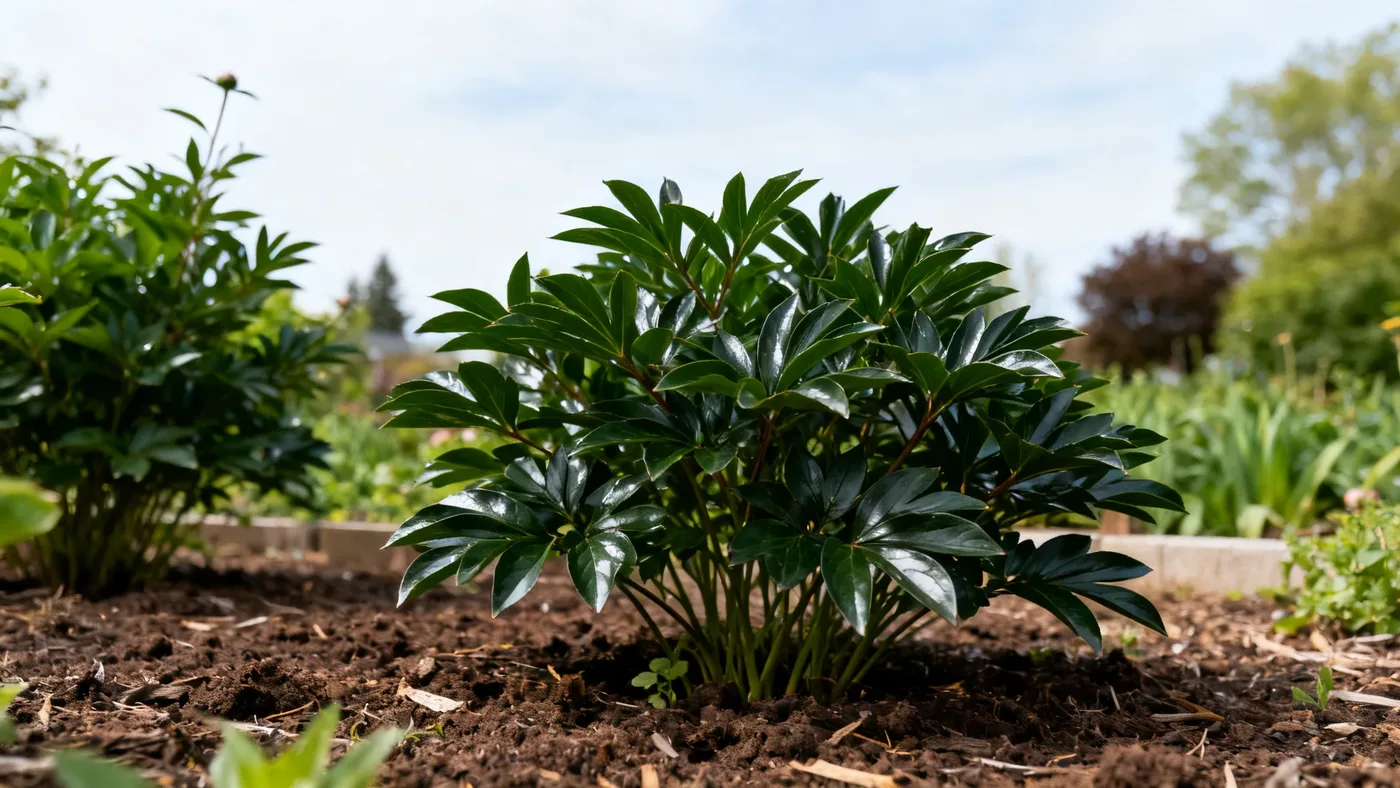
Best Soil for Kansas Peony: Drainage, pH and Amendments
Kansas Peony thrives in the right soil, and this is one of the few things you can get right from the start that will compound for the next 50 years. Unlike many perennials that forgive soil neglect after a few seasons, peonies live longer and perform better when their foundation is solid. Drainage, pH, and organic matter are not luxuries on this plant. They are the baseline.
This guide walks you through assessing your soil, amending it properly, and planting Kansas Peony in conditions that support deep roots, disease resistance, and steady blooms year after year.
What Kansas Peony Soil Needs
Kansas Peony prefers fertile, humus-rich, well-drained loam. The plant will not tolerate waterlogged soil. Excess moisture, especially around the roots through winter, invites phytophthora blight and root rot, two conditions that will kill an otherwise healthy peony slowly and silently.
The ideal soil pH sits at 6.5 to 7.0, which is slightly acidic to neutral. Kansas Peony can adapt to soils outside this range, but performance in that narrow window is noticeably better. At pH below 6.0 or above 7.5, nutrient uptake falters, and the plant's vigor declines over time.
Good news: you do not need perfect soil out of the gate. Most garden loams can be amended to meet these requirements with compost, sand, and a test to confirm pH.
Assessing Your Current Soil
Before you amend, take three minutes to understand what you are starting with.
Texture test. Dig a hole about 12 inches deep in the planting area. Fill it with water and let it drain fully. The next day, fill it again and observe how long the water takes to drain. If it drains within 24 hours, your drainage is adequate. If water pools after 48 hours, you have a compaction or clay issue that amendment alone may not fix. Consider raised beds or adding a drainage layer beneath the planting hole.
Soil composition. Take a handful of moist soil from the hole and squeeze it in your fist. If it forms a tight ball that does not crumble, you have heavy clay or silt. If it falls apart immediately, you have sandy soil or silt with low organic matter. Ideal loam will hold together loosely but crumble with gentle pressure. If your soil is clay-heavy or very sandy, amendments will be more substantial.
pH test. Use an inexpensive soil pH test kit from any garden center, or send a sample to your local extension service for a full nutrient and pH panel. The lab test is more reliable and often costs only a few dollars. Knowing your starting pH lets you add lime (to raise pH) or sulfur (to lower it) in the correct amount rather than guessing.
Materials You Will Need
- Compost (finished, aged 6 months or more)
- Coarse sand or aged perlite (if soil is clay-heavy)
- Peat moss or coconut coir (optional, for moisture retention in sandy soils)
- Agricultural lime or sulfur (based on soil pH test results)
- Balanced organic fertilizer (phosphorus and potassium-leaning; low nitrogen)
- Garden fork or tiller
- Soil pH test kit or lab service
- Mulch (aged wood chips, never fresh bark)
Step-by-Step Soil Preparation
Step 1: Test your pH. Send a sample to your local extension service or use a home test kit. Write down the result. If your soil is already at 6.5 to 7.0, skip the lime or sulfur step below. If it is below 6.5, plan to add agricultural lime. If it is above 7.0, plan to add sulfur.
Step 2: Loosen the planting area. Loosen the soil in the bed to a depth of 12 to 15 inches using a garden fork or tiller. Do not dig deeper than 18 inches. You are aerating the top zone, not creating a trench. Remove any stones, roots, or compacted clay as you go.
Step 3: Mix in compost. Spread 3 to 4 inches of finished compost over the loosened bed. Work it in with the fork or tiller until it is incorporated throughout the top 12 inches. Compost adds organic matter, improves water retention in sandy soil, and improves drainage in clay soil. It also feeds beneficial microbes that help suppress soil-borne diseases like botrytis and leaf spot.
Step 4: Add sand if needed. If your soil test revealed heavy clay, add 1 to 2 inches of coarse sand and work it in thoroughly. Do not use fine sand, which can actually compact further. Coarse sand improves pore space and allows water to move through the soil instead of pooling.
Step 5: Adjust pH. If your soil is below 6.5, add agricultural lime at the rate recommended by your test results. If your soil is above 7.0, add elemental sulfur at the rate recommended. Mix thoroughly and let the bed rest for two to three weeks before planting so pH changes can stabilize.
Step 6: Add balanced fertilizer. Once pH has stabilized, scatter a low-nitrogen, phosphorus and potassium-leaning fertilizer over the bed at the rate on the package. Balanced organic compost alone may be sufficient. Check the NPK ratio (nitrogen-phosphorus-potassium). Avoid high-nitrogen blends, which promote floppy growth and fewer blooms on Kansas Peony.
Step 7: Plant and mulch. Plant your Kansas Peony with the eyes (buds on the crown) no more than 1 to 2 inches below the soil surface. Planting too deep is one of the most common causes of bud blast and failure to bloom. Space plants 3 feet apart to ensure good air circulation. Apply 2 inches of aged wood chip mulch around the base, staying 3 to 4 inches away from the crown to prevent rot.
Drainage and Disease Prevention
The most common soil-related problem with Kansas Peony is botrytis blight, a gray mold that attacks buds and foliage in wet springs. Drainage solves half the problem. Spacing for air circulation solves the other half. If your bed drains well and air can move freely between plants, botrytis is unlikely even in a wet year.
Root rot from phytophthora happens in soil that stays wet for weeks at a time. If your site floods or stays boggy after rain, amend aggressively with sand and consider a raised bed instead of in-ground planting. Peonies are not bog plants. They need water to establish, but not waterlogging.
Fertilizing in Subsequent Years
After year one, Kansas Peony needs very little feeding. Each spring as new shoots emerge, apply a light dusting of balanced organic compost or a low-nitrogen fertilizer around the base. Resist the urge to fertilize heavily. Excess nitrogen creates soft, weak growth that flops under the weight of blooms and attracts pests. A handful of compost per plant is plenty.
Common Mistakes to Avoid
- Planting too deep: Eyes more than 2 inches below the soil surface rarely flower. If you inherit a deeply planted peony, carefully lift and replant it shallower the following fall.
- Poor drainage without amendment: If your site is heavy clay and you only add compost without sand or raised beds, water still pools. Test drainage first. Amend accordingly.
- Ignoring pH: Soil at pH 8.0 or higher will yellow the foliage and weaken the plant over time, even if drainage is perfect. A $10 lab test saves years of disappointment.
- Over-fertilizing: High-nitrogen fertilizer makes Kansas Peony leafy and weak. Stick to balanced or low-nitrogen products, and apply sparingly.
- Mulching against the crown: Mulch that touches the base of the plant traps moisture and invites fungal rot. Leave a 3 to 4-inch bare zone around the crown.
What to Expect
A Kansas Peony planted in well-prepared soil may produce a few blooms in the first year or two, but typically reaches full flowering potential in 3 to 4 years. Once established, a single peony clump planted in sound soil can bloom reliably for 50 years or more with minimal fuss. The investment in soil preparation pays dividends over decades.
In the first 1 to 2 years after planting, water regularly during dry spells. Once the peony is established (recognizable by vigorous new shoot growth each spring), it becomes moderately drought tolerant and needs supplemental water only in severe droughts.
Soil Preparation Checklist
| Element | Target | How to Check or Achieve |
|---|---|---|
| Drainage | Water drains within 24 hours | Dig 12-in hole, fill with water, observe drain time |
| Soil pH | 6.5 to 7.0 | Home test kit or extension lab test |
| Organic matter | 3 to 4 inches of compost incorporated | Soil feels crumbly, holds together loosely when wet |
| Texture | Fertile loam | Add coarse sand to clay; compost to sandy soil |
| Planting depth | Eyes 1 to 2 inches below surface | Measure from crown to mulch layer |
| Spacing | 3 feet between plants | Allows air circulation; prevents disease |
| Mulch | 2 inches aged wood chips | Keep 3 to 4 inches clear around the crown |
For a deeper dive into all aspects of Kansas Peony cultivation, including bloom care and seasonal maintenance, see our complete growing guide.