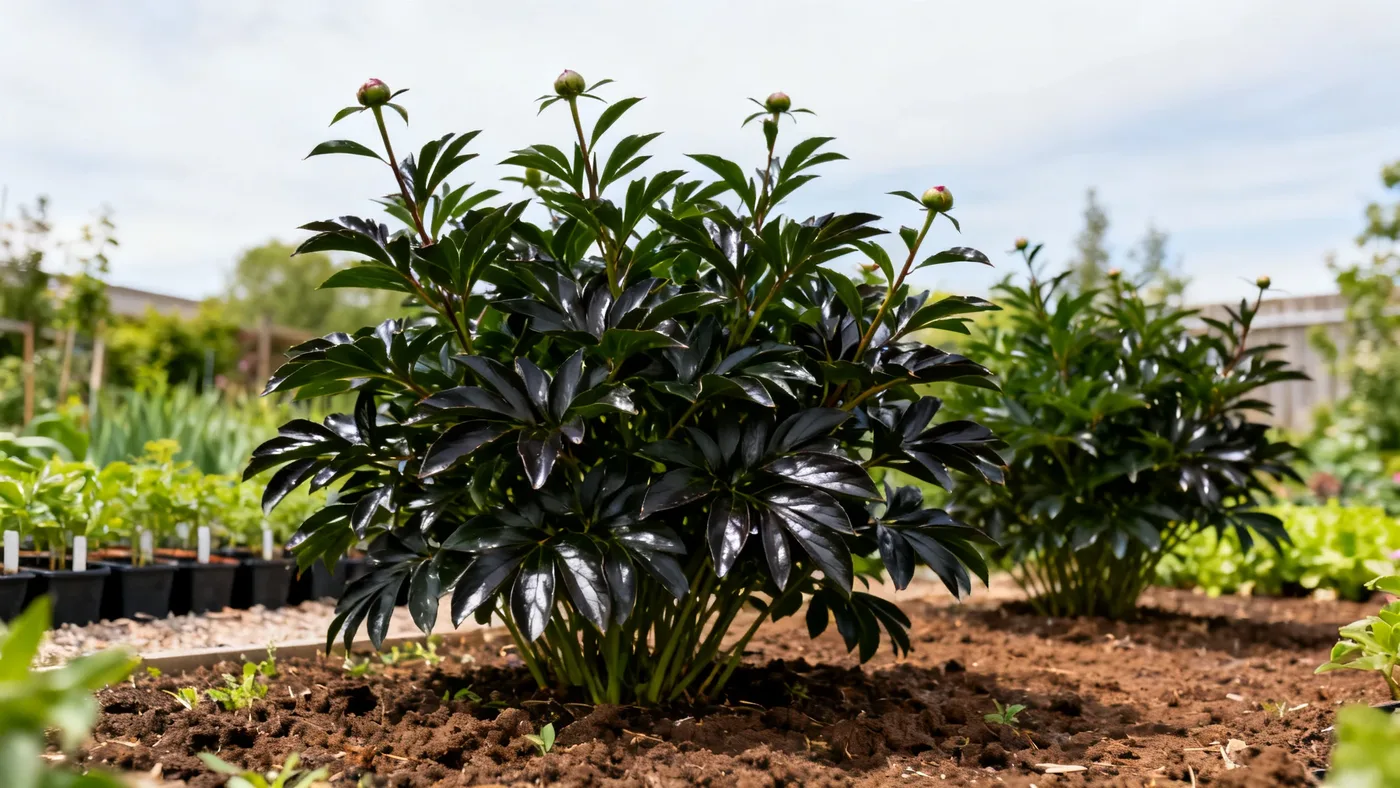
Propagating Kansas Peony by Division: Step-by-Step
Kansas Peony spreads slowly over time, but when you need more plants, division is the most reliable way to get established peonies that will reward you with the same deep red blooms as the original. Unlike seed propagation, which can take years and won't produce true copies, division gives you full-size root systems and can yield flowers within just a year or two.
This guide walks you through the entire process, from identifying the right clump to planting established divisions in their new home.
Best Time to Divide Kansas Peony
Timing matters more than most gardeners realize. Fall is the preferred window for dividing Kansas Peony, specifically from late August through October in most zones. This timing allows divisions to establish roots before winter frost and gives them a full dormant period to settle in.
The soil should still be warm enough to allow some root growth, but cool enough that the plant's energy is already shifting downward. In USDA zones 3 through 8, where Kansas Peony grows best, you'll want to divide at least 6 weeks before your first hard frost to give roots time to anchor.
Spring division is possible with container-grown plants, but bare-root divisions almost always perform better when planted in fall. If you must divide in spring, plant immediately after frost danger passes and water consistently through the growing season.
When Your Peony Is Ready to Divide
Don't rush. A Kansas Peony clump needs at least 4-5 years of growth before division produces the best results. A younger clump can be divided, but you'll lose a year or more of blooming while it re-establishes. Mature clumps spread 24 to 36 inches across and become increasingly dense with tuberous roots clustered together.
If your peony is thriving, producing strong blooms year after year, and you've noticed it getting crowded in its space, it's ready. A clump that hasn't flowered well in recent years despite full sun (6+ hours daily) and good soil might actually be too congested and will bloom better once divided.
Materials You'll Need
Gather these tools and supplies before you start. Having everything within reach keeps the work moving smoothly and prevents roots from drying out during the process.
- Sharp spading fork or garden fork (not a shovel; a fork lets you leverage without cutting roots)
- Garden knife or pruning saw (for cleanly severing root sections)
- Bucket of water
- Dry cloth or newspaper (for resting roots)
- Prepared planting holes with amended soil
- Ruler or measuring tape (to check eye depth)
- Garden gloves
Optional but helpful: a garden hose with low pressure setting, and a small brush to gently remove soil from roots so you can see the eyes clearly.
Step-by-Step Division Process
Step 1: Prepare the Mother Plant
In late summer, cut back any remaining foliage to a few inches above ground. This doesn't have to be perfectly neat. Wait a day or two, then water the clump deeply the evening before you plan to dig. Moist soil holds together better and won't shatter, making it easier to see the tuberous roots and their attachment points.
Step 2: Excavate Carefully
Dig around the clump perimeter about 12 to 15 inches out from the visible crown. Go deep: peony tuberous roots can reach 18 inches down or more. Use a fork to gently lift and loosen, working your way around until you can rock the entire clump free. Once it's loose, lift it onto a cloth or directly onto the ground nearby.
Don't rush this step. Broken roots are fine, but intact roots establish faster in their new location.
Step 3: Clean the Roots
Use your hands or a soft brush to rinse away soil clinging to the roots. You need to see the tuberous sections clearly and locate the eyes (small buds or swollen points on the crown). Gently wash if needed, but avoid high pressure that might damage emerging roots.
Lay the clean clump on a cloth in shade and let it air-dry for an hour or two. Slightly damp roots are easier to work with than bone-dry or dripping-wet ones.
Step 4: Identify the Eyes and Plan Cuts
Peel back dried leaf sheaths if they're still clinging to the crown. Each division must have 3 to 5 eyes to flower reliably. Eyes are small, often reddish or purple-tinted bumps on the tuberous roots near the crown. You may have many more than that on a mature clump, which is good news: it means you can make multiple divisions.
A large clump can often yield 3 to 5 new plants, depending on how it's structured. Don't aim for the smallest divisions possible; bigger sections with more tuber mass establish faster.
Step 5: Make Clean Cuts
Using a sharp knife or pruning saw, cut the clump so each division includes its own cluster of 3 to 5 eyes and at least one attached section of tuberous root. Each piece should be the size of your fist or larger. Sterilize your knife between cuts if you have concerns about disease, though this is rarely an issue with peonies.
Cuts should be clean, not jagged. Jagged cuts are slower to heal and can invite rot. If a piece has only 1 or 2 eyes and you're unsure about it, either keep it attached or discard it rather than planting a marginal division.
Step 6: Air-Dry the Divisions
Lay divisions on newspaper or cloth in a shaded spot for 2 to 4 hours. This lets cut surfaces dry slightly, reducing the chance of rot when planted. Don't leave them in direct sun or let them dry completely; you're aiming for just-barely-damp, not mummified.
Planting Your Divisions
Prepare planting holes before you lift the mother clump, if possible. This way, divisions go into the ground quickly and won't sit around exposed.
Soil Preparation
Kansas Peony demands fertile, well-drained soil with a pH between 6.5 and 7.0 (slightly acidic to neutral). Amend each hole with compost or aged bark to improve drainage and add organic matter. The plant will not tolerate waterlogged soil, so if your site drains poorly, either choose a different location or build up a slightly raised bed.
Space divisions 3 feet (30 to 36 inches) apart to allow for mature spread without crowding.
Depth Is Critical
This is the single most common mistake. The eyes of the division should sit no more than 1 to 2 inches below the soil surface. Too deep (more than 2 inches), and the plant may not bloom, even after 3 or 4 years. Too shallow, and the roots won't anchor properly and may suffer winter damage.
Set each division into its hole at the correct depth, then gently backfill and water in. The soil should firm around the tubers but not be compacted hard.
Year-One Care for New Divisions
The first growing season after planting is about establishment, not flowering.
Watering
Water consistently for the first 1 to 2 years. Aim for 1 to 1.5 inches per week through the growing season, counting both rain and supplemental watering. New root systems are shallow and vulnerable to drought stress, even though mature peonies become moderately drought tolerant.
Feeding
In early spring as shoots emerge, apply a light application of balanced or phosphorus-leaning fertilizer (one with higher phosphorus and potassium, lower nitrogen). Excess nitrogen promotes floppy growth and fewer blooms. A balanced organic compost worked into the top inch of soil works well.
Deadheading
If your division produces a few blooms its first year, let them open but remove them once petals begin to drop. This redirects energy to root establishment rather than seed production. Don't feel obligated to deadhead every tiny flower; the plant is still settling in.
Fall and Winter
As foliage dies back naturally in fall, cut it down to a few inches above ground. This reduces overwintering spores of fungal diseases. In zone 3, a light mulch of 2 inches of bark or compost over the crown for the first winter provides extra insulation, but remove it in early spring.
Timeline to Full Flowering
Many divisions produce a few modest blooms in their first or second year after planting. Don't be discouraged if they're smaller or fewer than you expect. The plant is still directing much of its energy underground, establishing the root system that will support abundant flowering later.
Most divisions reach their full flowering potential after 3 to 4 years. At that point, you'll see blooms comparable to the mother plant. From there, with minimal care, Kansas Peony will bloom reliably year after year for 50+ years. Older clumps are often among the most vigorous.
Tips and Common Mistakes to Avoid
Planting Too Deep
Eyes buried more than 2 inches below the surface struggle to push through. The plant may slowly decline or refuse to bloom. Check your depth with a ruler before backfilling. This is worth the 30 seconds of effort.
Dividing Too Early
A peony that's only 2 or 3 years old can be divided, but you'll set it back significantly. Wait until the clump is established and thriving. You'll get better results and a shorter path back to flowering.
Making Microscopic Divisions
A single eye or tuber the size of a pea rarely succeeds. Always aim for divisions with 3 to 5 eyes and a thumb-sized piece of attached tuber. They establish faster and are far more forgiving of planting mistakes.
Planting in Poorly Drained Soil
If water puddles after rain, the peony will rot. Choose a different spot or improve drainage first. This plant is non-negotiable on this point.
Forgetting Fall Planting Window
If you miss the fall window and it's deep winter, store bare-root divisions in a cool basement or unheated garage, packed in barely-damp peat moss or sand. Plant them as soon as ground is workable in early spring. Spring-planted divisions need extra attention to watering through their first summer.
Watering Erratically
The biggest risk to young divisions is alternating flood and drought. Set up a soaker hose on a timer if you can't water consistently by hand. Consistent moisture for the first 1 to 2 years makes all the difference.
Starting from a Neighbor's Plant
If you're dividing a peony from someone else's garden, follow the same steps. You may want to ask the original grower how long the clump has been in place and how old they think it is. A 10-year-old clump will have far more vigorous divisions than a 4-year-old. Choose healthy-looking sections only; if part of the clump looks diseased or noticeably weaker, leave it behind.
For detailed growing guidance after your divisions are planted, refer to our complete growing guide at Kansas Peony Care: The Complete Growing Guide. And if you're curious about planting technique from the start, How to Plant Kansas Peony for the Best Spring Blooms covers site selection, soil prep, and first-year establishment in depth.
Quick Reference Checklist
| Task | Timing | Details |
|---|---|---|
| Prepare clump | Late summer, day before digging | Cut foliage to a few inches; water deeply |
| Dig and excavate | Fall (Aug–Oct) | Dig 12-15 in out; go deep; loosen with fork |
| Clean roots | Immediately after excavation | Gently rinse soil; air-dry 1-2 hours |
| Identify eyes | After cleaning | Look for buds on crown; aim for 3-5 per division |
| Make cuts | Immediately after ID'ing eyes | Clean knife cuts; fist-sized pieces or larger |
| Air-dry divisions | After cutting | 2-4 hours in shade; lightly moist, not dry |
| Prepare holes | Before planting | Amend with compost; space 3 ft apart |
| Plant divisions | Fall (6+ weeks before frost) | Eyes 1-2 in below soil surface |
| Water in | Immediately after planting | 1-1.5 in/week for first 1-2 years |
| Apply fertilizer | Early spring (year 1+) | Light application of balanced or P-rich formula |
| Cut back foliage | Fall (after frost) | Trim to a few inches above ground |
| Expect first flowers | Year 1-2 (modest); Year 3-4 (full potential) | Don't be discouraged by modest early blooms |